
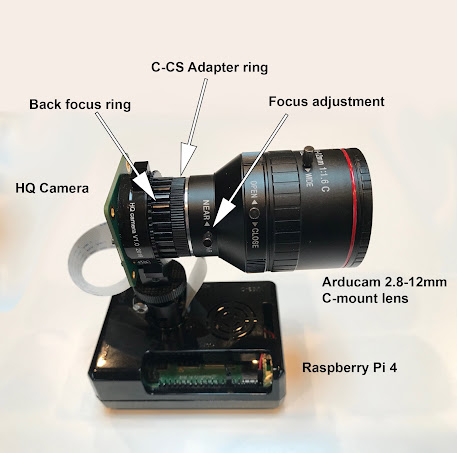
Here's the procedure I use to focus the Raspberry Pi 12MP HQ Camera. In this example I am using the Arducam 2.8-12mm C-mount lens.
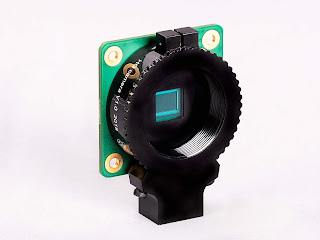 |
| 12MP HQ Camera |
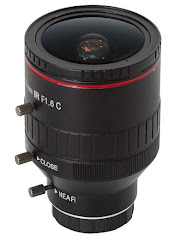 |
| Arducam 2.8-12mm Lens |
Initial Focus Procedure
1) Loosen the HQ camera back focus lock screw and insure the back focus ring is screwed all the way into the camera (clockwise).
2) Since the Arducam Lens has a C-mount, you need to screw the C-CS adapter into the HQ Camera.
3) Screw the lens into the C-CS adapter.
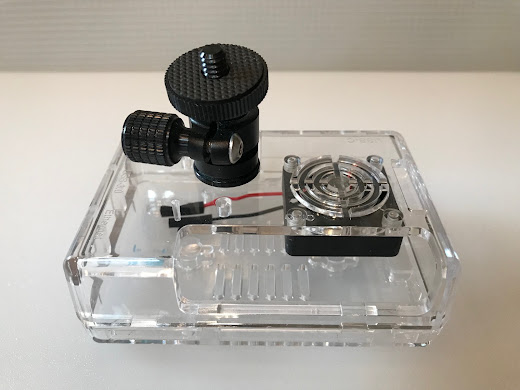
 |
| HQ Camera attached directly to a Raspberry Pi case using a mini ball head. |
4) Being careful to not unscrew the lens, the C-CS adapter or the back focus ring; adjust the lens focus to the "FAR" setting.
5) Aim the camera at something far away.
6) In a Raspbian terminal window type "raspistill -t 0" to stream the camera image to a screen.
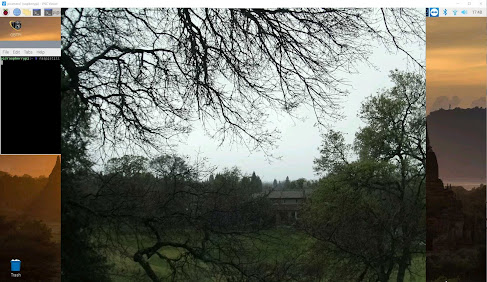 |
| "raspistill -t 0" streaming to a monitor |
7) As you watch the screen, slowly unscrew the back focus ring until you get a sharp image. Then the assembly is aligned for the FAR focus setting.
8) Tighten the back focus screw.
9) Test the configuration by using the lens focus ring to focus on something near.
--------------------------------------------------------------------------------------------------------------
Reference
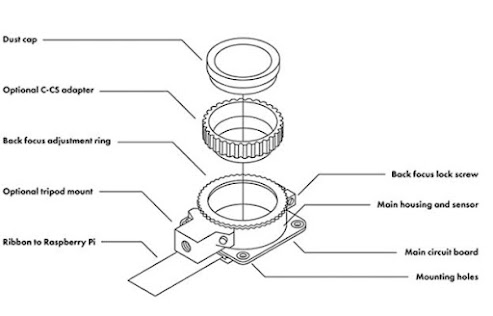 |
| HQ Camera assembly |
 | |


