Thursday, December 23, 2021

Focusing the Raspberry Pi HQ Camera

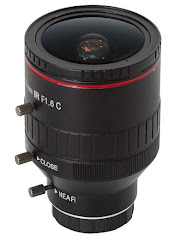
 Here's the procedure I use to focus the Raspberry Pi 12MP HQ Camera. In this example I am using the Arducam 2.8-12mm C-mount lens.
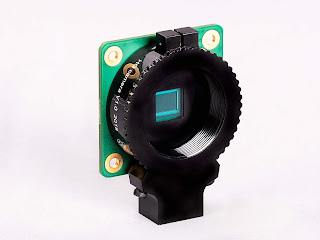
12MP HQ Camera
Arducam 2.8-12mm Lens


Initial Focus Procedure


1) Loosen the HQ camera back focus lock screw and insure the back focus ring is screwed all the way into the camera (clockwise).

2) Since the Arducam Lens has a C-mount, you need to screw the C-CS adapter into the HQ Camera.

3) Screw the lens into the C-CS adapter.
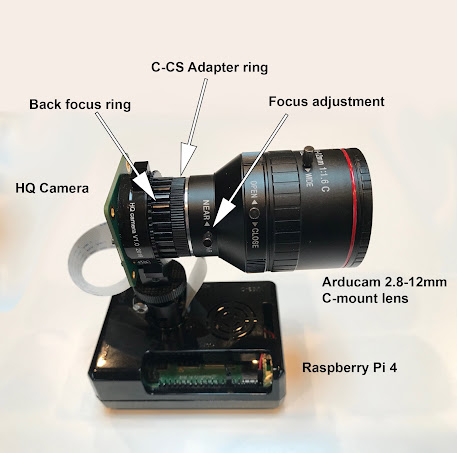
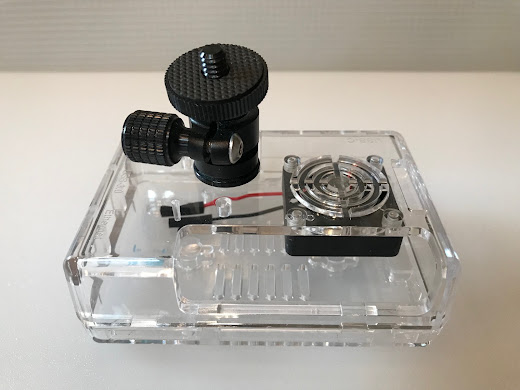
HQ Camera attached directly to a Raspberry Pi case using a mini ball head.

4) Being careful to not unscrew the lens, the C-CS adapter or the back focus ring; adjust the lens focus to the "FAR" setting.

5) Aim the camera at something far away.

6) In a Raspbian terminal window type "raspistill -t 0" to stream the camera image to a screen.
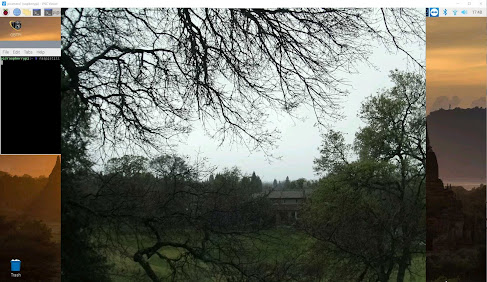
"raspistill -t 0" streaming to a monitor

7) As you watch the screen, slowly unscrew the back focus ring until you get a sharp image. Then the assembly is aligned for the FAR focus setting.

8) Tighten the back focus screw.

9) Test the configuration by using the lens focus ring to focus on something near.

--------------------------------------------------------------------------------------------------------------

Reference
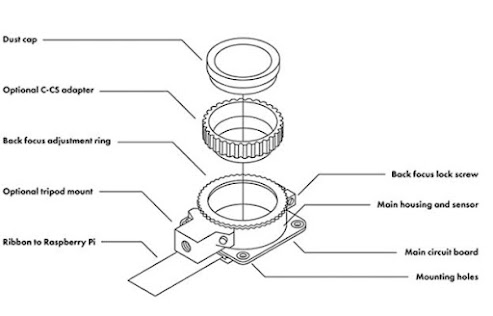
HQ Camera assembly


Some Pi cases are pre-drilled to facilitate attaching a camera

Saturday, September 18, 2021

DIY Raspberry Pi Long-Term Unattended Time-lapse

GBTPi is designed to for long-term unattended operation. It inherits GBTimelapse’ powerful and versatile scheduling and camera control abilities. GBTimelapse has been used for over a decade in hundreds of long-term installations worldwide.

Periodic images can be captured over a period of days, weeks or months to document the progress of a project. The camera and computer can run indefinitely. Progress is monitored by email alerts from the capture software or by remote access software. Images can be emailed periodically or uploaded via FTP. GBTPi can automatically convert the images sequences into time-lapse videos.

  • Set begin/end at fixed times of day or times relative to sunrise and sunset
  • Specify a schedule of different capture intervals at different times of day
  • Define different capture schedules for days of the week
  • Automatically makes a video for each day or session
  • Sends emails sample images to you periodically or uploads FTP images
  • Manages Raspberry Pi image storage like a DVR by keeping the most recent
  • Remotely monitor and control over the internet with a wi-fi or Ethernet connection
  • Download videos and/or images over the internet


Internet Connection Options

  • Use an Ethernet cable if available.
  • Use the RPi internal wi-fi if you have a strong wi-fi signal.
  • Use a wi-fi extender if you have a weak wi-fi signal.  Bearifi Extender $58

Parts List


Tuesday, December 10, 2019

GBTimelapse4 Long-Term Indoors

Raw Fit Training Gym Case Study

Time-lapse of a Gym's classes automatically created and published to YouTube.

A local gym owner wanted to keep track of the morning classes every day so I installed a camera and GBTimelapse4 Pro (GBT4) inside his gym with a clear view of the floor. GBT runs on a ACEPC mini-PC and controls a Canon T2i DSLR.

I created three GBT4 projects, one for each of the three morning classes (5AM, 6AM, and 8:30AM). Each project was set to a 4.5 second interval, a start time to match the start of the class and an end time 55 minutes later. Each project was also set to automatically start and to exit GBT4 when completed.

I then created three windows Windows Task Scheduler tasks, with each one starting GBT at the class start time and with the name of the corresponding GBT project file. Each task was set to only run on the weekdays when the gym is open.

I also created a Windows task to start GBTManager (GBTM) later in the morning after the classes were done. GBTM runs FirstCutTimelapse (FCT) on that mini-pc to make videos (full-frame HD) for each of the three classes.  FCT is configured to overlay the date/time, a RawFit watermark, and other info on the video.

The videos are created into a Google Drive folder and a Zapier "zapp" publishes each new Google Drive video to the owner's YouTube page.,


GBTManager manages the mini-PC's storage much like a digital video recorder. It keeps all the images and videos until the drive gets full and then deletes the oldest ones. This PC has a 256GB SSD enough to keep a history going back over 120 days. A drive up to 4TB could be installed for a much longer history.